The Uncertainty Register page allows a user to add and apply uncertainties to the project scenario. The uncertainty applied to the scenario will affect the tasks, based on the type selected. These tasks are listed as a tree structure.
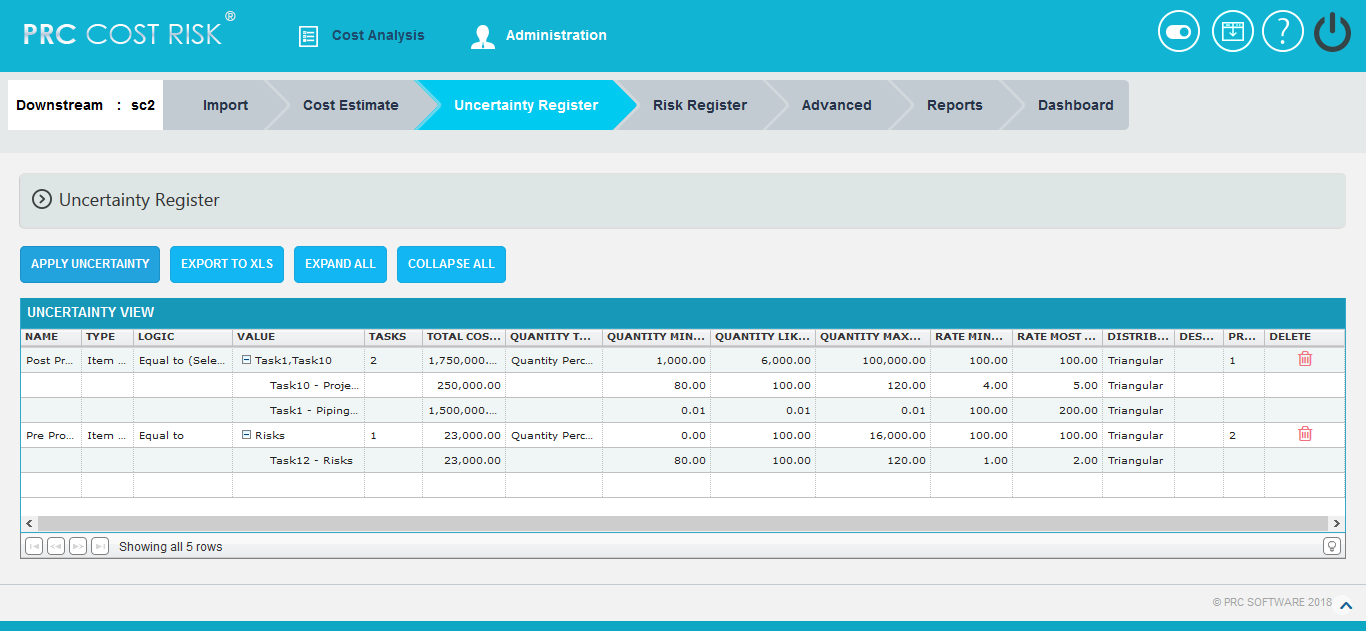
Figure 1
Add Uncertainty:
This functionality is to add a new uncertainty with a name and type selected.
Steps:
- Cost Analysis —>Uncertainty Register
- Click Name field to add a new uncertainty. Select the Type from dropdown with its logic and value. (Figure 2)
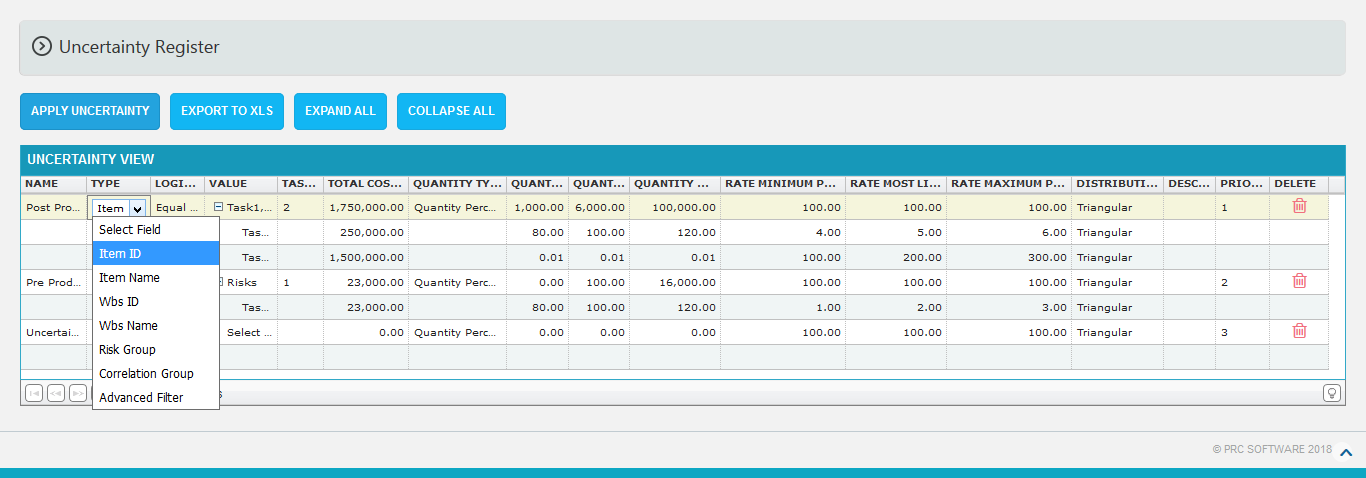
Figure 2
Advanced Filter:
This functionality is used to apply filter to the uncertainties.
Steps:
- Cost Analysis —>Uncertainty Register
- Add uncertainty by clicking on the Name. (Figure 3)
- Select the Advanced Filter field from type dropdown and click value field. (Figure 3) A Filter Options pop up appears as in Figure 4.
- Select the field, criteria and its value. (Figure 4)
- Click the ADD FILTER button , to add another filter. (Figure 4)
- Click the Delete link, to delete the particular filter. (Figure 4)
- Click SAVE button to save the filters added or click CANCEL to close the pop up. (Figure 4)
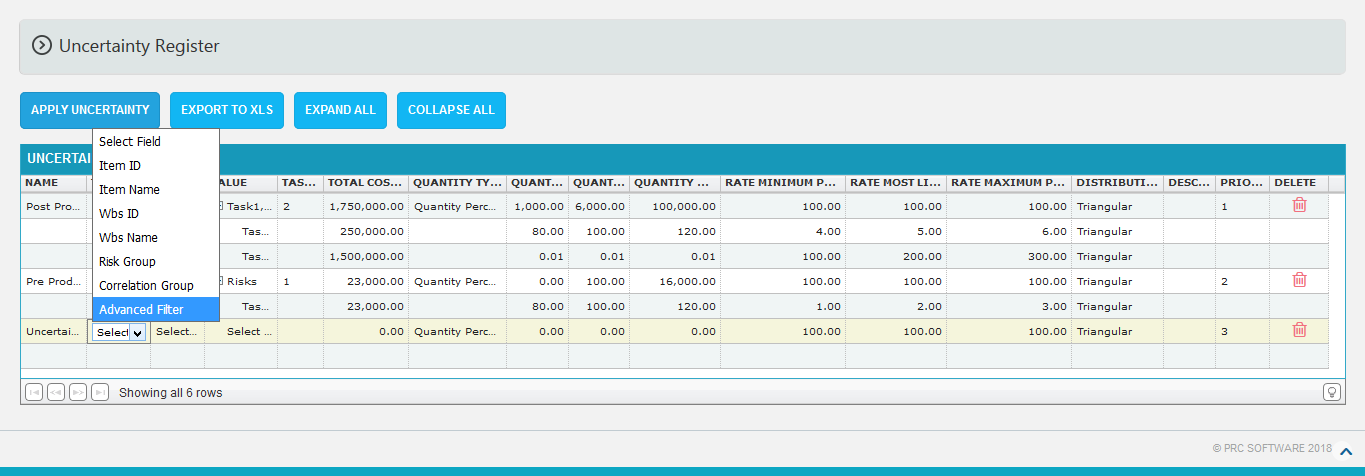
Figure 3
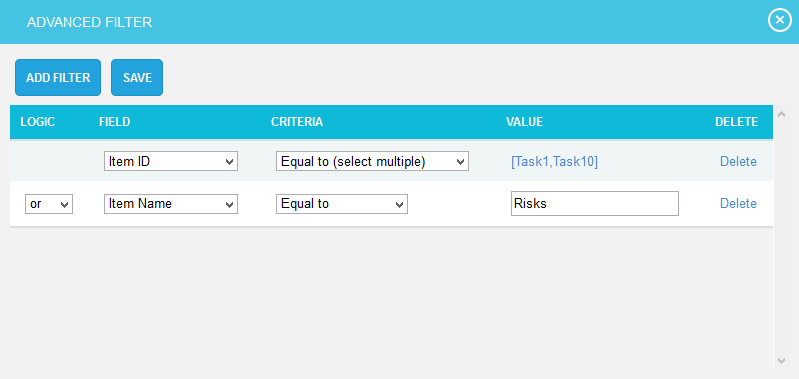
Figure 4
Apply Uncertainty:
This functionality is used to apply the saved uncertainties to the selected scenario of the project. When a task selected in two uncertainties, the highest priorities task distribution values automatically applied to the other task also.
Steps:
- Cost Analysis —>Uncertainty Register
- Add the uncertainties with values.
- Click APPLY UNCERTAINTY button to apply the saved uncertainty. (Figure 1) While applying uncertainty, if there any manually edited tasks then a validation message shown as in Figure 5. If you don´t want to overwrite the data you can click the Keep Changes button.
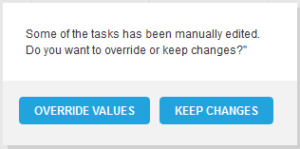
Figure 5
Edit Uncertainty:
This functionality is to edit the values and data of the uncertainties. The task selected for the uncertainty can be edited manually and these tasks are highlighted as shown in Figure 1.
Steps:
- Cost Analysis —>Uncertainty Register
- Click the corresponding fields to be edited. (Figure 1)
- Input the changes and click another field to save the changes done to that particular field.
Delete Uncertainty:
This functionality is used to delete the uncertainty.
Steps:
- Cost Analysis —>Uncertainty Register
- To delete the uncertainty, click the corresponding Delete icon. (Figure 1)
- A pop up message appears. (Figure 6)
- Click OK to delete or click Cancel. (Figure 6)
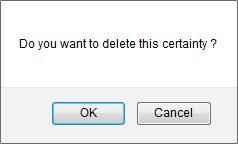
Figure 6
Export:
This functionality is used to export the entire uncertainties page to Excel.
Steps:
- Cost Analysis —> Uncertainty Register
- Click the EXPORT TO XLS button to export the entire page to Excel. (Figure 1)
Expand All:
This functionality is used to expand the tree structure containing the tasks under value column.
Steps:
- Cost Analysis —>Uncertainty Register
- Click the EXPAND ALL button to expand all the tasks. (Figure 1) On Expansion, the tree structure becomes like that shown in Figure 7.
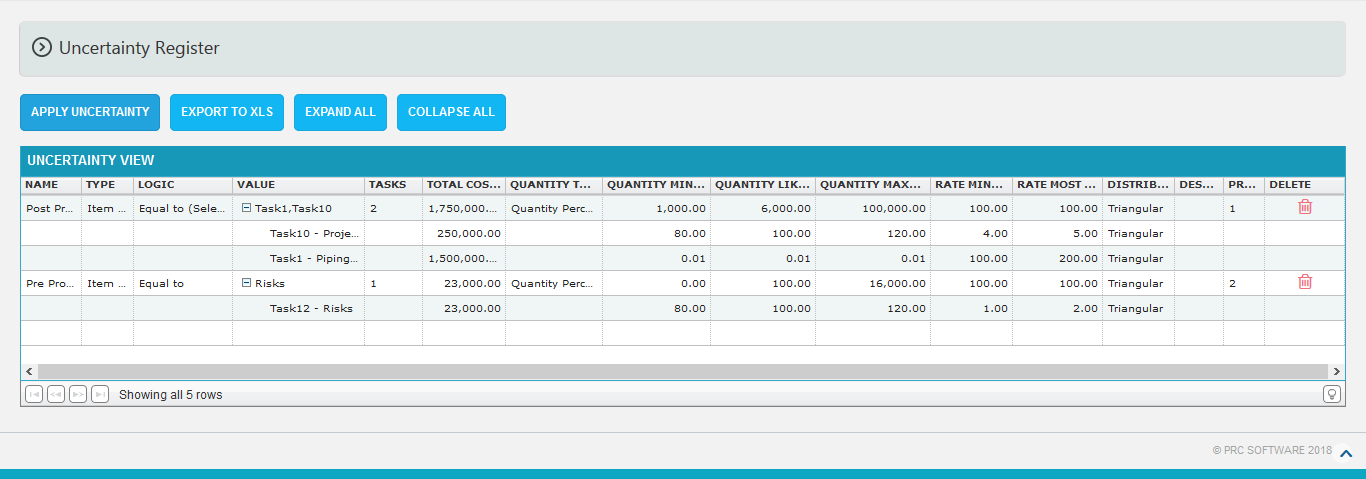
Figure 7
Collapse All:
This functionality is used to collapse the expanded tree.
Steps:
- Cost Analysis —>Uncertainty Register
- Click the COLLAPSE ALL button to collapse the tasks. The tasks get collapsed and the tree structure becomes like that shown in Figure 8.
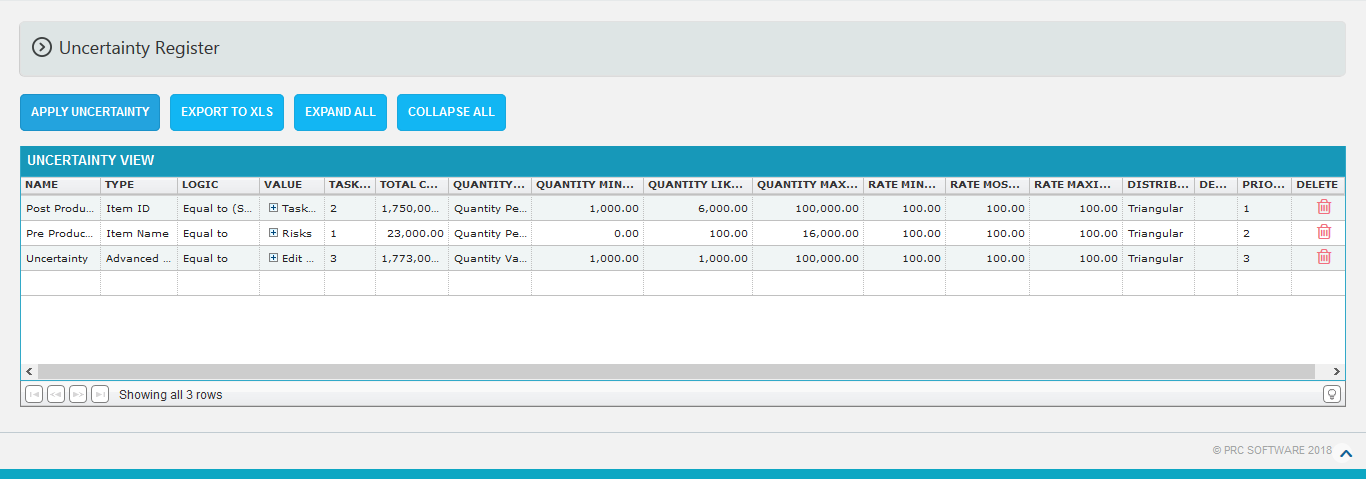
Figure 8